How to Fix 45-Degree Cut Deviations in Heavy Aluminium Profiles
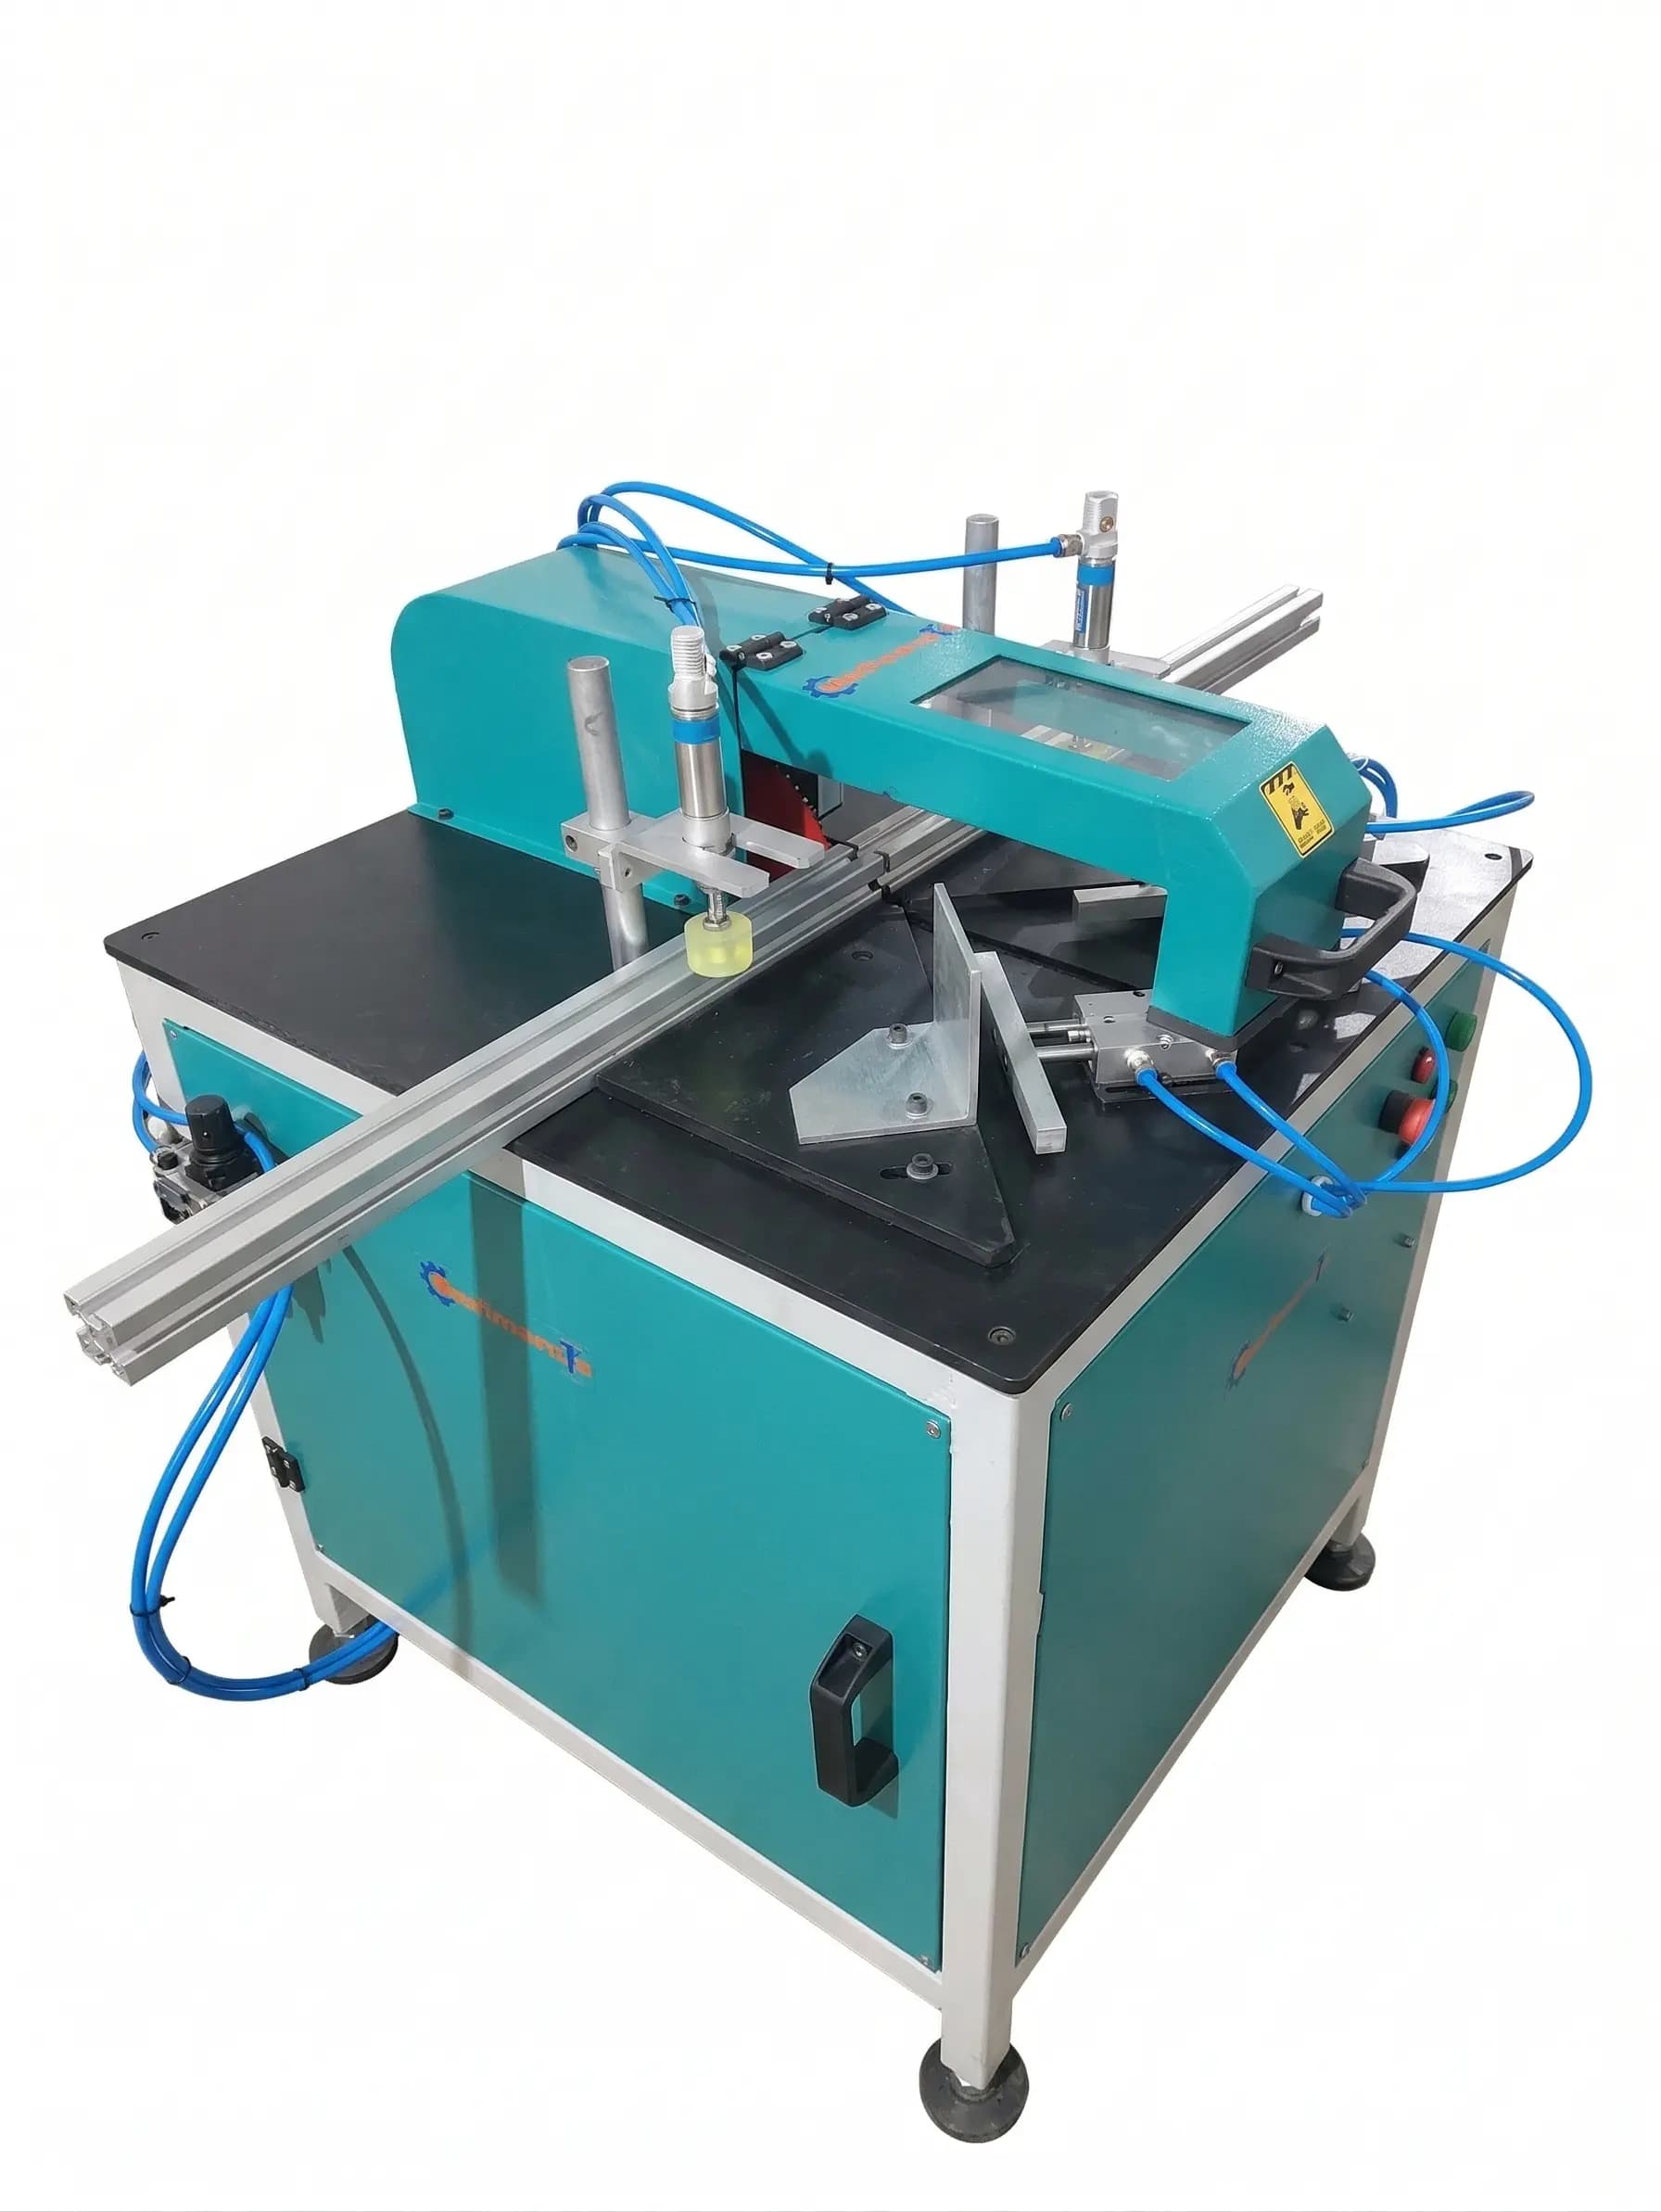
A 45-degree cut that deviates by 0.3mm creates a visible gap at the corner joint of an aluminium window frame. In heavy profiles with 2mm+ wall thickness, that gap cannot be closed by clamping pressure alone. Fabricators processing Domal, Jindalinium, Hindalco, and Alumil sections encounter this problem regularly, and the standard response — adjusting the fence until cuts "seem right" — rarely holds for more than a few days. Fixing the problem requires identifying the actual root cause, calibrating to a specific tolerance, and maintaining a routine that keeps the machine in specification. The 45/90 Degree Cutting Machine is engineered for this kind of work, but even a well-built machine drifts without proper upkeep.
The Three Root Causes of Angle Deviation
Blade run-out occurs when the blade spins off-centre. Even a 0.05mm deviation causes the blade to cut an asymmetric kerf — in light 1mm profiles this often goes unnoticed, but in 2mm+ sections the taper is visible in the assembled corner joint. Run-out is caused by a worn arbor, a distorted blade bore, or swarf trapped between the blade and the mounting flange. Check run-out with a dial indicator against the blade body, not the teeth: anything above 0.05mm requires correction before calibration will hold.
Pivot bearing wear develops progressively in machines processing 40–60 cuts per day across heavy sections. When the bearing wears, the saw head develops lateral play and the blade no longer descends in a true vertical plane. The result is a cut that is accurate at the entry face but deviates by 0.1–0.3mm at the exit. Detect this by holding the saw head at rest and applying gentle sideways pressure — any movement beyond a bare resistance indicates a bearing requiring replacement.
Fence misalignment is the most commonly overlooked cause. A fence that has shifted from repeated clamping vibration produces consistently angled cuts that pass informal checks but fail when two mitre pieces are assembled. The fence face must be perpendicular to the blade path within 0.05mm across a 300mm span, verified with a precision square — not by eye.
Calibration Protocol: Step by Step
Before starting, clear all swarf from the fence face, clamping jaws, and blade flanges. Mount a fresh 120-tooth TCT blade. Then work through this sequence:
- Check blade run-out. Mount a dial indicator on the saw body and rotate the blade by hand. If deviation exceeds 0.05mm, remove the blade, clean the arbor flange, and recheck. Replace the arbor if the problem persists after cleaning.
- Check pivot bearing lateral play. Apply sideways pressure to the saw head at the blade position with the machine off. Any measurable movement — more than 0.02mm — means the bearing needs replacement before calibration will hold.
- Set the fence to 45 degrees with a precision mitre square, not the degree scale engraved on the machine body. Adjust until the fence face reads within 0.05mm of true 45 across a 300mm span. Tighten all fence lock bolts.
- Cut a test pair from scrap offcuts of the same profile batch. Bring the two mitre faces together and check the corner gap with a feeler gauge. Residential frames require 0.1mm or less; commercial curtain wall work requires 0.05mm or less.
- Adjust and recut until the test pair closes within tolerance. Mark the verified fence position with a paint pen so any subsequent movement is immediately visible.
- Log the calibration date, blade used, and measured result. This record shows how quickly the machine drifts between sessions and identifies whether a component replacement is overdue.
Clamping Pressure and Blade Selection for Heavy Sections
For profiles with 2mm+ wall thickness, set pneumatic clamping pressure between 6 and 7 bar. Below 6 bar, the section shifts microscopically as the blade enters, rotating the cut face and producing a twist deviation that no fence adjustment can correct. Above 7 bar on hollow sections, the clamping jaw deforms the profile wall, changing the cross-section geometry at the cut point and introducing a new source of inaccuracy.
A 120-tooth TCT (tungsten carbide tipped) blade is the correct specification for heavy aluminium sections. The higher tooth count reduces chip load per tooth, produces a cleaner exit face, and lowers burring significantly — important when the joint will be welded or adhesive-bonded. For thin sections below 1.2mm wall thickness, a 100-tooth blade is more appropriate; the 120-tooth blade at the same feed rate generates excess heat on thin material and can cause built-up edge.
A workshop in Sanand GIDC, processing Hindalco heavy casement profiles, was recording 12% cutting waste from angular deviation and rework. After adjusting clamping pressure to 6.5 bar, replacing a worn pivot bearing, and switching from a 96-tooth blade to a 120-tooth TCT blade, waste fell to 2.5% within two weeks. The blade change cost approximately ₹3,500 and was recovered in material savings within four working days.
Daily, Weekly, and Monthly Maintenance Schedule
Angular deviation is almost always a maintenance failure before it becomes a calibration problem. Follow this schedule to keep the machine within specification between formal calibrations:
Daily — before the first cut:
- Remove swarf from fence face and clamping jaw faces with a brush and compressed air
- Inspect blade visually for chipped or missing teeth
- Confirm that all fence lock bolts are tight
Weekly:
- Apply a drop of light machine oil to accessible pivot bearing grease points
- Verify clamping pressure gauge accuracy against a reference gauge
- Cut a test mitre pair, measure the gap with a feeler gauge, and log the result
Monthly:
- Remove the blade, clean the arbor flange and blade bore, and check run-out with a dial indicator
- Check pivot bearing lateral play
- Verify fence alignment with a precision mitre square
- Inspect the pneumatic system for air leaks at fittings and hose connections
For guidance on selecting a machine matched to your profile range and production volume, see the cutting machine buying guide and the workshop setup guide.
FAQ
Why does my cut look accurate on one face but leave a gap on the opposite face of the assembled joint?
This is the characteristic symptom of pivot bearing lateral play. When the bearing wears, the blade traces a slight arc rather than a true vertical plane — accurate at the entry face and deviated at the exit. Fence adjustment cannot correct a bearing fault. Replace the pivot bearing and recalibrate from scratch.
How often should I replace the TCT blade when processing heavy sections at 40–60 cuts per day?
A 120-tooth TCT blade in continuous heavy-section aluminium work typically runs 8,000–12,000 cuts before edge geometry degrades enough to affect cut quality. At 50 cuts per day that is 160–240 working days. However, a single hard impact — from a steel fixing left in the profile, for example — can chip teeth immediately. Inspect the blade each morning and replace at the first sign of chipped teeth or increased burring, regardless of cycle count.
Can I calibrate the machine without a dial indicator or precision mitre square?
Not to the tolerance required for heavy-section fabrication. A visual check or a builder's square achieves roughly 0.3–0.5mm accuracy, which is adequate for rough construction but not for window frames where the corner joint must close cleanly and transfer load. A dial indicator costs ₹1,500–₹3,000 and a precision mitre square costs ₹2,000–₹5,000 from industrial tool suppliers. The cost of one reworked frame exceeds both tools combined.
My machine cuts accurately in the morning but deviates noticeably by afternoon. What causes this?
Thermal expansion is the most common cause. As the workshop heats up through the day, the aluminium fence bracket expands slightly and shifts the reference angle. Calibrate in the morning and re-check at midday, particularly during summer months in non-airconditioned workshops. A secondary cause is vibration-induced fence bolt loosening — verify that all fence lock bolts are correctly torqued. Some fabricators apply thread-locking compound to fence bolts to prevent drift across the working day.
Get Expert Advice
If calibration steps have not resolved your cutting deviation, the root cause is likely a worn component — pivot bearing, arbor, or clamping jaw — that requires replacement rather than adjustment. Mechnovate's engineering team supports 500+ fabricators across India and can assist with remote diagnosis or arrange an inspection for customers in Gujarat.
Call +91-9265699061 or contact us to speak with a technical specialist. Spare parts are stocked for all machines we manufacture, with delivery to Gujarat in 1–2 days and to Maharashtra, Rajasthan, and Delhi NCR in 2–3 days.
Get more articles like this
Follow Mechnovate on Google to see our guides in Google Discover & News